
Building thicker, stronger arms takes more than standard curls. The hammer curl is a strength-training exercise that targets muscles traditional curls often miss, adding both forearm strength and noticeable width to the upper arm. Consequently, mastering this movement is essential for complete arm development.
Many lifters hit a plateau with arm growth. Changing your grip can stimulate different muscle fibers and place less stress on the wrists and elbows, which means you can often load the movement heavier while training safely.
This guide covers the exact mechanics behind the movement — the muscles it targets, the correct technique, and the best variations to add to your arm routine.
Understanding the dumbbell hammer curl
The dumbbell hammer curl is an isolation exercise for building arm strength, performed with a neutral grip: your palms face each other throughout the entire range of motion. That single adjustment shifts the tension toward a different set of muscles than a standard curl.
Standard curls put the wrist in a supinated (palms-up) position. The neutral grip of the hammer curl mimics the action of swinging a hammer, which feels natural and biomechanically safe for most lifters, making it a foundational movement in any arm workout routine.
You can perform this movement with several types of equipment, but dumbbells remain the most popular and accessible choice. Dumbbells also allow a natural range of motion that machines often restrict, so you can adjust your wrist angle to find the most comfortable lifting path — check BeFit’s exercise library for the full list of biceps exercises and video demos.
-
Muscles
- Primary
-
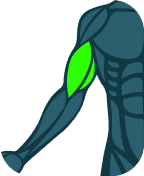 Biceps
-
Instructions
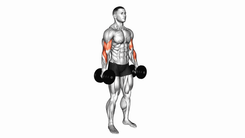
- Keep your torso upright
- Contract your abdomen and glutes
- Keep your elbow aligned with your torso during the movement
- Fully flex your elbow
- Lower your forearm in a controlled manner
-
Important Tips
- Do not swing your elbow forward during the movement
- Do not flex your torso laterally
- Do not let your torso move backward
Dumbbell Hammer Curl
How to do hammer curls with proper form
Executing this movement with clean technique is what prevents injuries and keeps the tension on the target muscles instead of the joints. Follow these steps:
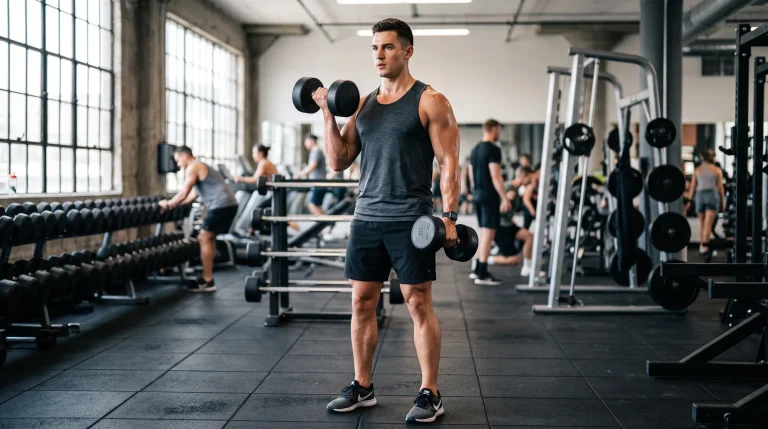
- Set your stance: Stand tall with your feet shoulder-width apart. Furthermore, keep a slight bend in your knees to maintain balance. Therefore, your core will remain engaged and stable throughout the movement.
- Grip the weights: Hold a dumbbell in each hand by your sides. Ensure your palms are facing your outer thighs. Consequently, this neutral grip is the defining feature of the exercise.
- Lock your elbows: Pin your elbows directly against your ribs. However, do not let them drift forward or backward as you lift. Thus, you isolate the arm muscles and prevent shoulder involvement.
- Curl the weight: Exhale and contract your biceps to lift the dumbbells toward your shoulders. Furthermore, squeeze the muscles hard at the top of the movement for one full second. Therefore, you maximize muscle fiber recruitment.
- Control the descent: Inhale and slowly lower the weights back to the starting position. Moreover, this eccentric phase should take about two to three seconds. Consequently, you will induce more muscle damage for greater growth.
Muscles worked in the hammer curl: Anatomy of the movement
Building a mind-muscle connection starts with knowing which muscles the hammer curl targets. The exercise primarily works three muscles in the upper arm and forearm, together creating a complete, balanced look.
The brachialis is the hidden powerhouse of the upper arm, sitting beneath the biceps brachii. As the brachialis grows, it pushes the biceps upward, creating the appearance of a thicker arm.
The brachioradialis, a thick muscle that runs down the top of the forearm, also gets heavily stimulated, since it assists in flexing the elbow joint — a key reason to include this movement in any forearm workout.
The biceps brachii still plays a role in the movement, but the neutral grip shifts the primary focus away from the short head while the long head stays highly active, giving you well-rounded development across the front of the arm.
Hammer curl vs bicep curl: Key differences
Knowing the difference between the hammer curl and the standard bicep curl helps you structure your workouts — both exercises build impressive arms, but they serve slightly different purposes.
The primary difference is grip orientation. A standard curl uses a supinated grip that isolates the biceps brachii, while the neutral grip of the hammer curl distributes the load across multiple muscles, which is why you can generally lift heavier with the neutral variation.
| Feature | Hammer Curl | Standard Bicep Curl |
|---|---|---|
| Grip position | Neutral (palms facing each other) | Supinated (palms facing up) |
| Primary muscle | Brachialis and brachioradialis | Biceps brachii (short and long head) |
| Forearm activation | Very high | Low to moderate |
| Wrist strain | Minimal | Moderate to high |
| Weight capacity | Generally heavier | Generally lighter |
Both movements deserve a place in your weekly routine. Prioritize the neutral grip if standard curls cause wrist pain, and combine both exercises for maximum muscle fiber recruitment.
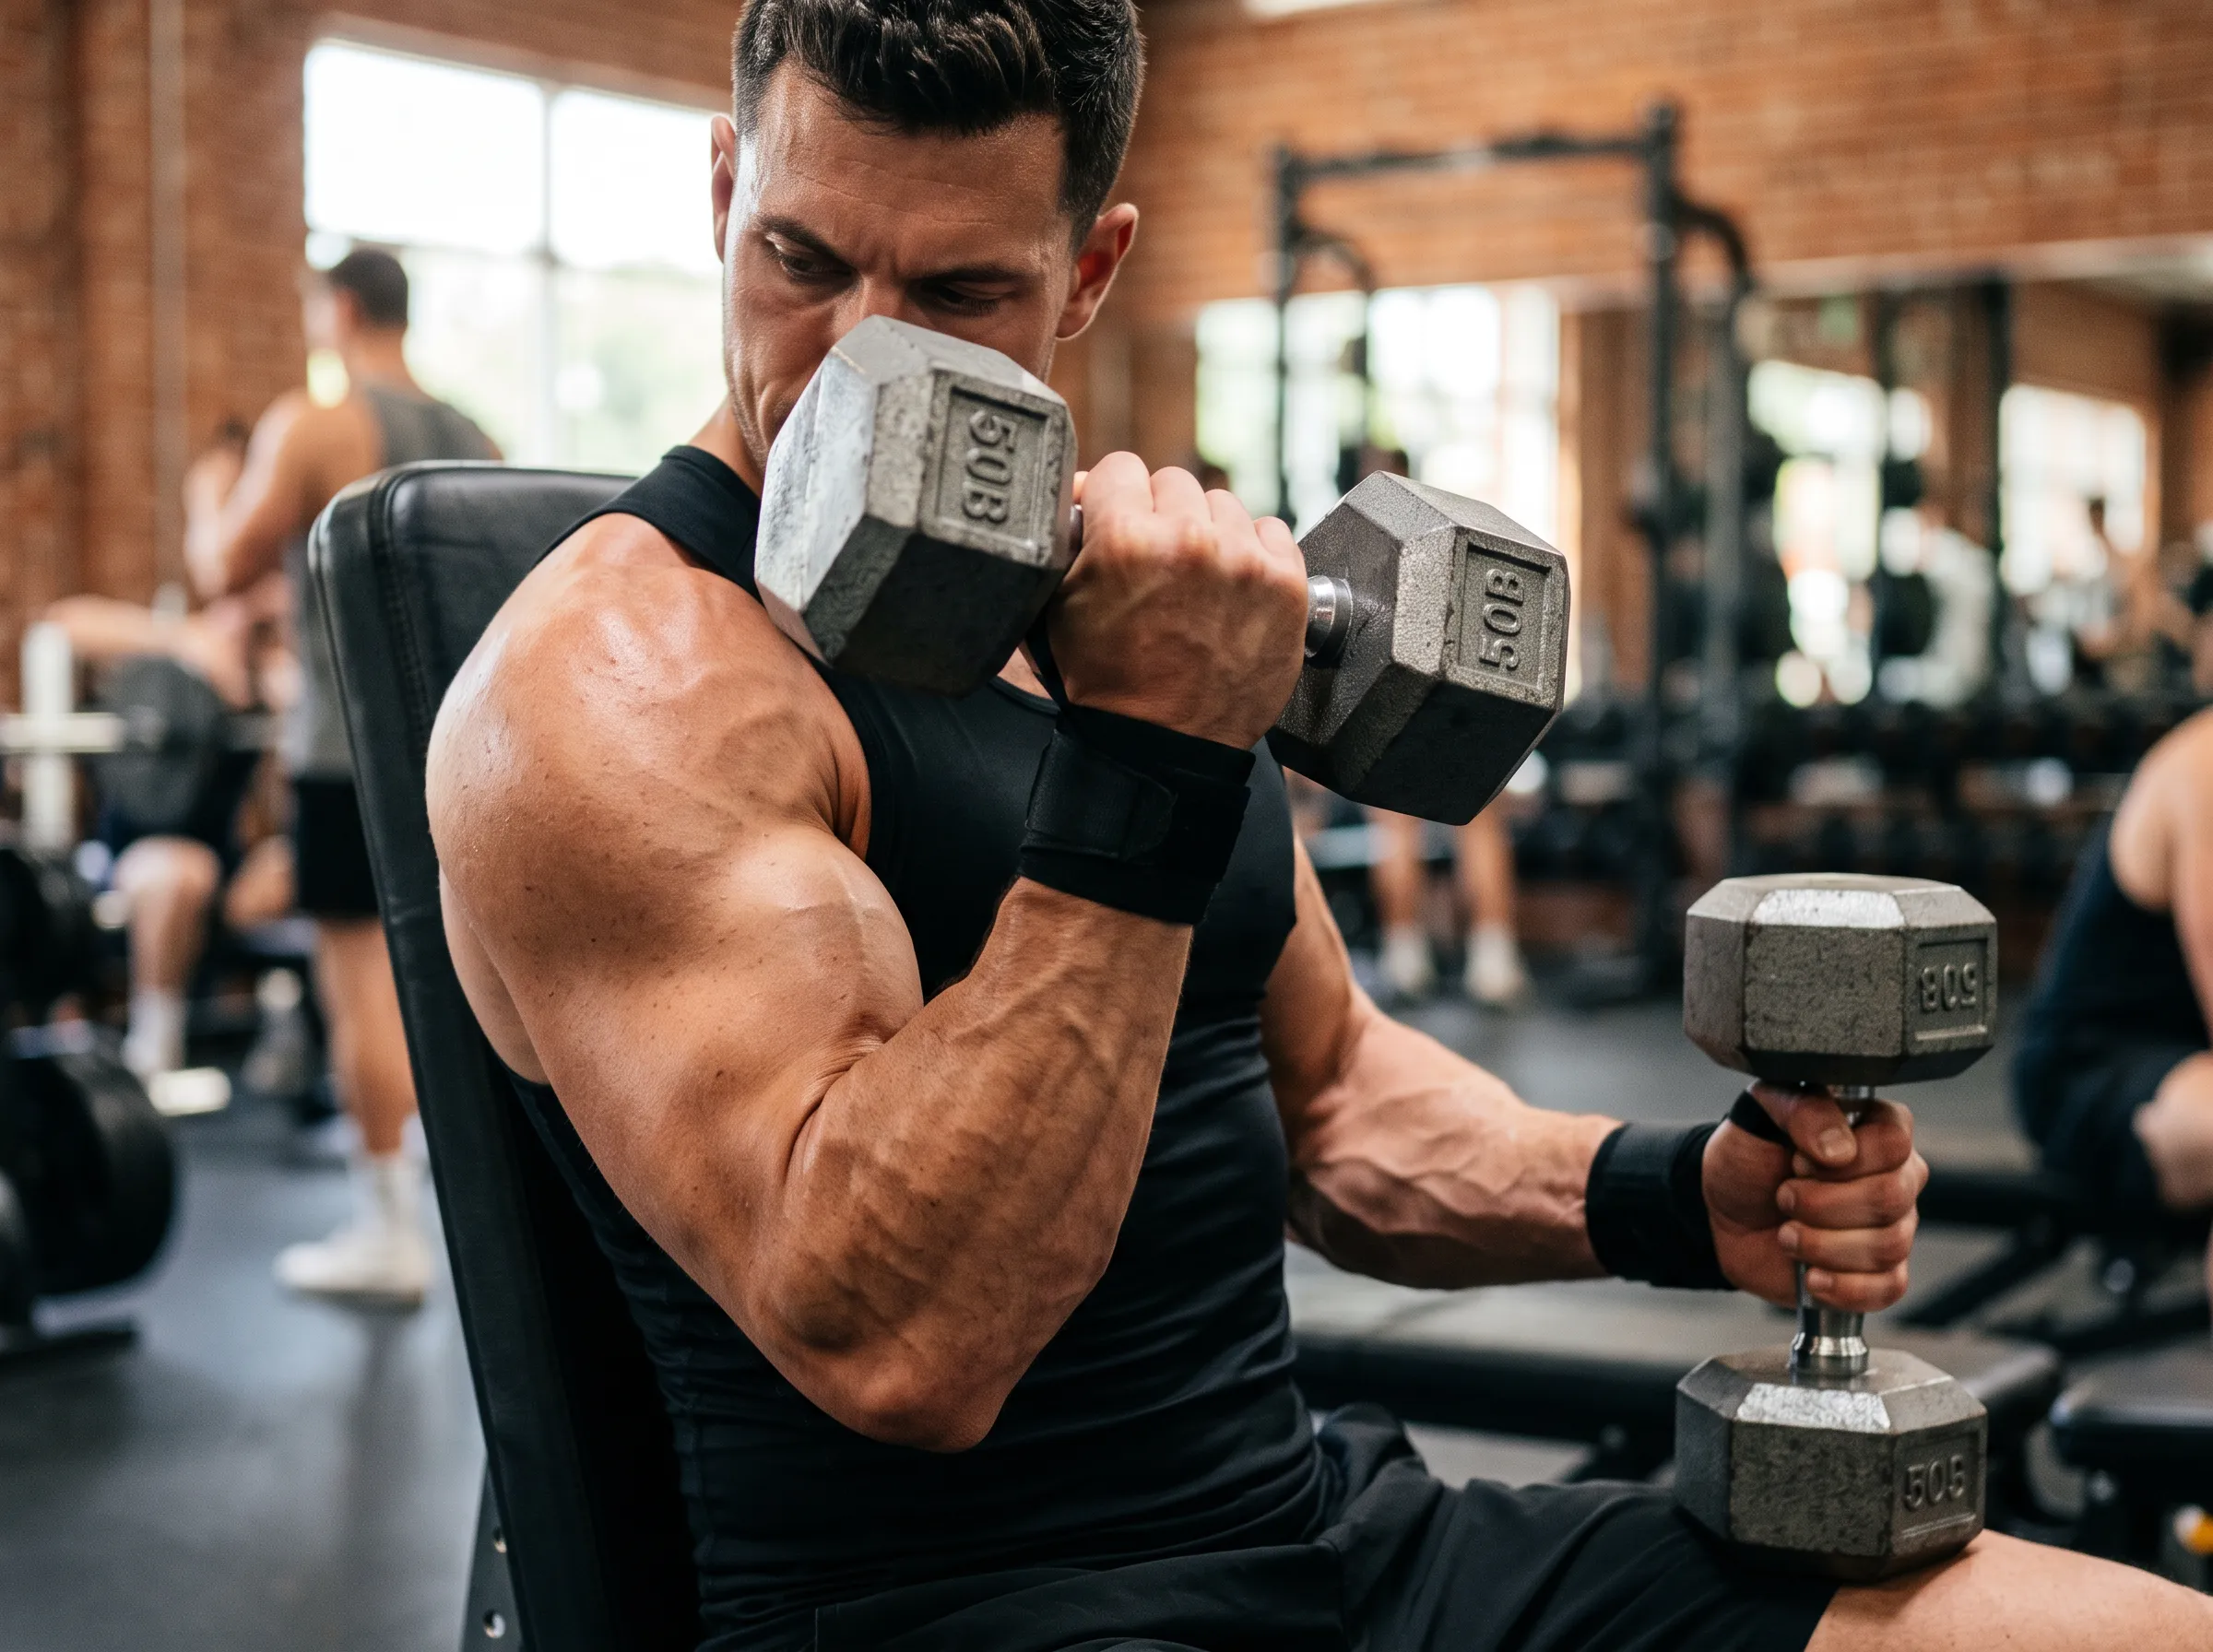
5 hammer curl benefits you cannot ignore
Adding this exercise to your routine brings advantages beyond aesthetics, extending into functional strength and joint health. Here are the five main reasons to prioritize it in your training:
- Builds thicker arms: By targeting the brachialis, you push the biceps outward. Therefore, your arms look significantly wider from the front. Furthermore, this targeted growth is essential for maximizing muscle hypertrophy.
- Enhances grip strength: The neutral grip forces your hands and forearms to work harder. Consequently, you will develop a crushing grip. Thus, your performance in deadlifts and pull-ups will naturally improve.
- Protects your wrists: Supinated curls can cause severe wrist and elbow discomfort for many lifters. However, the neutral hand position aligns your joints naturally. Therefore, you reduce the risk of repetitive strain injuries.
- Improves athletic performance: Many sports require strong forearms and elbows. For instance, wrestling, climbing, and martial arts rely heavily on these muscles. Furthermore, this exercise builds the functional pulling strength needed for these activities.
- Offers incredible versatility: You can perform this movement with dumbbells, cables, or resistance bands. Moreover, you can do them seated, standing, or alternating. Thus, you will never get bored with your arm training.
These benefits compound over time — pairing hammer curls with a supinated-grip exercise in the same session tends to build arms that are both thicker and more defined.
Best variations to challenge your muscles
Once you master the standard movement, you should introduce variations to keep your muscles guessing. Furthermore, different angles and equipment can target the fibers in unique ways. Therefore, incorporating these alternatives will prevent training plateaus. Consequently, your arms will continue to grow consistently over time.
The alternating hammer curl is the most popular variation: instead of lifting both weights at once, you curl one arm at a time, letting you focus entirely on a single muscle and use the power of unilateral training for symmetry and stability.
The cross-body variation curls the weight across the torso toward the opposite shoulder instead of straight up. That small path change heavily isolates the brachialis and the long head of the biceps, making it a great addition to the routine.
The cable rope variation provides constant tension throughout the entire range of motion — dumbbells lose tension at the bottom of the movement, but the cable pulls continuously against the muscle, which makes this variation ideal for finishing a workout with higher reps.
The seated hammer curl is worth adding too: sitting down removes body momentum entirely, which makes it a good option when you want to isolate the arm without relying on stability from the legs and core.
Sample arm routine using the hammer curl
Fitting this exercise into your weekly schedule takes a bit of planning to balance volume and recovery. Here’s a routine built around it:
- Standard barbell curls: 3 sets of 8 to 10 reps. Rest 90 seconds. This builds overall bicep mass.
- Seated alternating hammer curl: 3 sets of 10 to 12 reps per arm. Rest 60 seconds. Doing these seated prevents momentum.
- Cable rope pushdowns: 3 sets of 12 to 15 reps. Rest 60 seconds. This targets the triceps for overall arm size.
- Cross-body dumbbell curls: 2 sets of 12 to 15 reps per arm. Rest 60 seconds. Focus on a slow, controlled descent.
Perform this routine once or twice a week depending on your experience level, and focus on the mind-muscle connection on every rep so the target muscles do the actual work.
For advanced lifters, you can occasionally push the final set of your routine to complete exhaustion. Furthermore, training to failure can provide the necessary stimulus to break through stubborn plateaus. However, you must prioritize perfect form over adding extra weight.
Common mistakes that ruin your gains
Even though this exercise appears simple, many lifters make critical errors that hinder their progress. Furthermore, these mistakes can shift the tension away from the arms and onto the joints. Therefore, you must remain vigilant about your technique. Consequently, avoiding these common traps will accelerate your results.
The most frequent mistake is swinging the torso to generate momentum. Using the lower back to heave the weight up takes work away from the arms and raises the risk of a lumbar injury, so keep the torso rigid throughout the set.
Another common error is letting the elbows drift forward during the lift. When the elbows move in front of the ribs, the front deltoids take over and the brachialis loses time under tension — pin the elbows to the sides for the whole movement.
Finally, many lifters rush the lowering phase. Dropping the weight quickly wastes much of the exercise’s muscle-building potential, so aim to take at least two seconds to lower the dumbbells every rep.
Frequently asked questions
-
What is the difference between hammer curls and bicep curls?
The main difference is the grip. Hammer curls use a neutral grip (palms facing each other) to target the brachialis and forearms. Meanwhile, standard bicep curls use a supinated grip (palms facing up) to isolate the biceps brachii.
-
How to do hammer curls with proper form?
Stand tall with dumbbells at your sides using a neutral grip. Keep your elbows pinned to your ribs, curl the weights toward your shoulders, squeeze at the top, and slowly lower them back down.
-
Can you do alternating hammer curls?
Yes, alternating arms is highly effective. Furthermore, it allows you to focus your mental energy on one arm at a time, improving muscle contraction and core stability during the lift.
-
How many sets and reps for hammer curls?
For muscle growth, aim for 3 to 4 sets of 8 to 12 repetitions. Furthermore, you should understand what new research says about optimal rest between sets to maximize your recovery between efforts.
-
Are hammer curls good for beginners?
Absolutely. The neutral grip is very natural and places minimal stress on the wrists and elbows. Therefore, it is one of the safest and most effective arm exercises for beginners to learn.
Why the hammer curl deserves a spot in your arm routine
Mastering the hammer curl is a real upgrade for anyone building well-rounded arms. The neutral grip targets the often-neglected brachialis and brachioradialis, adding thickness to the upper arm and strength to the forearm at the same time.
Prioritize proper form over lifting heavy: keep the elbows pinned, control the negative phase, and focus on the contraction. To track your arm development and get personalized workouts, download the BeFit app and take your training to the next level.